CSS切換-出错处理
需求描述
在上一章中,我们对于无内容的添加没有进行处理,现在我希望添加一个出错显示,告诉 用户要输入内容。当成功输入提交内容后,出错提示消失。
页面效果
出错信息的样式也是从 semantic-ui 中取出来的,基本的格式是:
<div class="field error">
  <textarea></textarea>
  <div class="ui red pointing prompt label transition" style="display: inline-block;">Please enter content</div>
</div>
有两个地方要注意:
- 在
<div class="field">的 class 上添加error, 这样整个<div>都是红色的。 - 在输入控件的下面添加一个红色的提示,包括出错描述。
最终的展示效果是这样的:
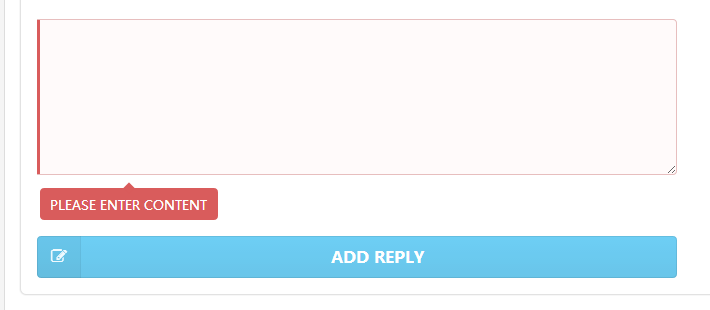
我们现在就是要实现这样的动态效果。
页面修改
将原来输入框的代码改为:
...
      <!-- validate begin -->
      <div class="field" ms-class="error:content_error">
        <textarea ms-duplex="comment"></textarea>
        <div class="ui red pointing prompt label transition" style="display: inline-block;" ms-visible="content_error">Please enter content</div>
      </div>
      <!-- validate end -->
...
这里増加了两个新的属性 ms-class 和 ms-visible 。
ms-class
可以用它来増加新的属性,基本语法为:
ms-class="classname:expression"classname 为即将増加的 CSS class 的名字。 : 后面的是一个表达式,可以为一个 变量。当为 true 时,这个 classname 将被添加,否则将去掉。
如果我们有多个 class 要添加,并且判断条件不同,因为如果定义多个 ms-class 会造 成属性重复,所以为了解决这个问题, Avalon 提供了特殊的写法,使用 ms-class-1, ms-class-2 这样的写法,区分不同的 class。很方便,很灵活。
因此 ms-class="error:content_error" 意味着,当 Model 中的变量 content_error 为 true 时,表示有错误, error 将被添加到元素的 class 上。
ms-visible
可以用它来显示或隐藏某个元素,类似于使用 display:none 。
所以上面的代码 ms-visible="content_error" 就表示,当 content_error 为 true 时,对应的元素,即出错元素将显示出来。
修改 Model 代码
在 comments Model 中进行如下修改:
...
    //begin of add
    vm.comment = '';
    vm.content_error = false;
    vm.add = function(){
        if (vm.comment.trim()){
            //ajax request process
            vm.comments.push({"id":1,
                "author":"John Smith",
                "date":"just now",
                "content":vm.comment,
                "avatar":"./avatar3.jpg"}
            );
            vm.comment = '';
            vm.content_error = false;
        }else{
            vm.content_error = true;
        }
    }
    //end of add
...
修改的地方为:
- 增加
vm.content_error = false;的初始化设置 - 在添加处理中根据不同的情况来设置
content_error的值。
就这么简单。
练习
我们甚至可以实现,在出错的情况下,如果输入了内容就让出错提示消失的功能。具体的 实现作为练习,大家可以自已试一下。也可以看下面的“演示代码2” 。